
Practical backyard chicken guides for beginners.

Raising chickens for beginners can feel overwhelming when every guide assumes you already know the basics. I know because I lost my mother’s entire flock three weeks after she died, the hardest lesson in raising chickens for beginners.
I was sixteen, unprepared, and I thought love was enough to keep them alive. It wasn’t. A raccoon opened a coop door I had built wrong, and by morning, every bird she had raised for eight years was gone.
That failure drove me to veterinary school and years on commercial poultry farms. Today, I raise chickens in my New Mexico backyard using systems I wish I had at sixteen. This guide is everything I needed, then tested, veterinary-backed, and written to keep your flock alive from day one.
If you’re raising chickens for beginners in 2026, the rules have changed.
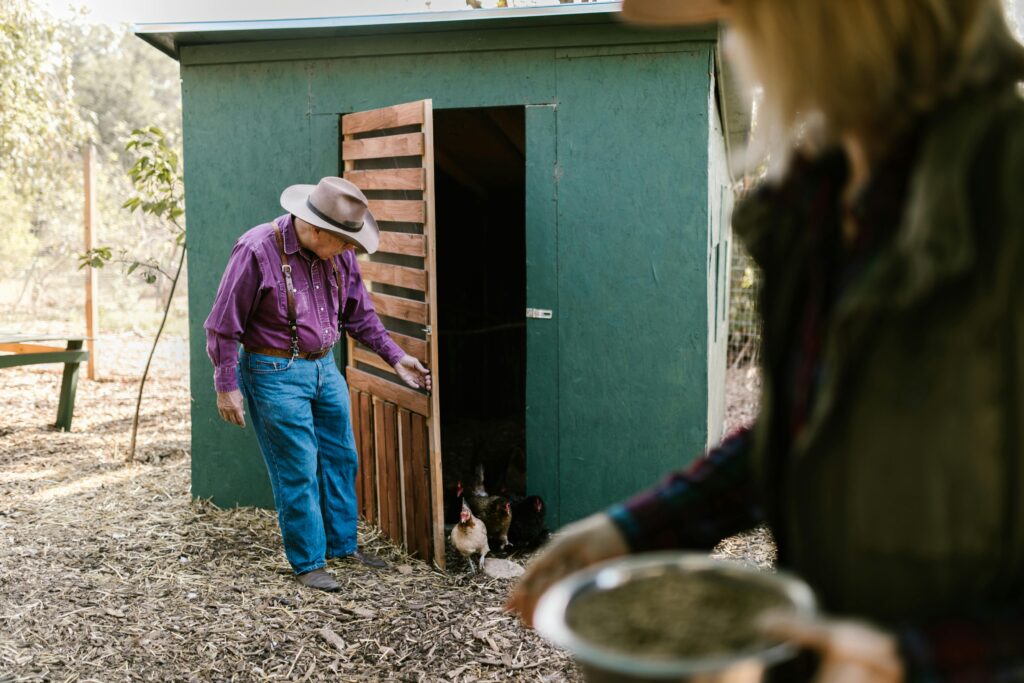
Raising chickens for beginners is not the same in 2026 as it was five years ago. In October 2025, the USDA finalized new National Poultry Improvement Plan regulations that affect small flocks directly. If you live in the US and your birds get hit with Highly Pathogenic Avian Influenza (HPAI), you now face mandatory biosecurity audits before you can restock and you will not receive indemnity if you moved birds into an infected zone and they get sick within 14 days. This is critical information for anyone raising chickens for beginners.
As of early 2026, HPAI has been confirmed in over 1,761 commercial and backyard flocks across nearly all 50 states. The government is still using the “stamping out” policy, depopulation, and cleaning for affected backyard flocks. This is not theoretical. This is happening to beginners who bought chicks at feed stores without knowing their county’s status.
In the UK, the situation is stricter. England-wide Avian Influenza Prevention Zone mandates housing for all poultry and captive birds, including backyard flocks. You must use DEFRA-approved disinfectant at every entry and exit, and housing measures are actively extended as cases rise. Even if you only keep four hens, you are legally required to prevent contamination.
What this means for you: Check your local USDA APHIS zone status before you buy birds. In the UK, check DEFRA’s current risk level. Do not skip this step. I have seen beginners lose their entire investment because they bought chicks during an active outbreak and had no biosecurity plan.
The most common question I get from people raising chickens for beginners is: ” How many should I start with?
The most common question I get from people raising chickens for beginners is: ” How many should I start with? The answer is three or four hens, the safest number when raising chickens for beginners. Not two. Not six. Three or four.
Two hens create a fragile social dynamic. If one gets sick or dies, the survivor is stressed and vulnerable. Six hens overwhelm a beginner’s capacity for daily observation. You will miss the early signs of illness because you are managing too many birds.
For a family of four eating eggs regularly, three good laying hens produce roughly 18 to 21 eggs per week in peak season. That is enough for breakfast, baking, and sharing with neighbours. If you want surplus, scale to four.
I started with six in my first year in New Mexico. I could not monitor them properly. I missed bumblefoot on one hen for three days because I was distracted by coop construction. By the time I saw it, the infection required veterinary intervention that cost $180 more than the bird was worth commercially. Start with three or four. Master the routine. Then expand.
What Does It Actually Cost in 2026?
Raising chickens for beginners comes with a real price tag, and most guides hide the true cost. The average beginner spends $500 to $1,500 in year one for a flock of four to six hens. Premium setups hit $700 to $3,000. The biggest variable is your coop build it yourself for $200 to $400, or buy a pre-made walk-in for $800 to $2,500.
Here is the honest breakdown I use when friends ask about the real cost of raising chickens for beginners:
| Item | Budget Option | My Recommendation |
|---|---|---|
| Chicks (4 pullets) | $20–$40 | $30–$50 from NPIP-certified hatchery |
| Coop | DIY $200–$400 | DIY predator-proof build, $300 |
| Feeder/Waterer | $20–$50 | $60 gravity/auto systems |
| Brooder supplies | $50–$100 | $80 (heat plate, bedding, thermometer) |
| Starter/Grower feed | $30–$50 | $40 organic starter, 20 lb |
| Bedding (8 weeks) | $30–$50 | $40 hemp bedding |
| Grit/Oyster shell | $10–$20 | $15 combined |
| Hardware cloth | $30–$60 | $50 (do not use chicken wire) |
| Total | $390–$770 | $575 |
Do not let these numbers scare you. My first coop cost $187 in materials because I used scrap lumber and bought only new hardware cloth and hinges. It lasted two years before I upgraded. You can start lean and improve later.
What Do I Need to Raise Chickens? The Complete Checklist
This is the checklist I wish my sixteen-year-old self had taped to the brooder wall when I started raising chickens for beginners. Download the printable version at the end of this guide.
Before chicks arrive:
- [ ] NPIP-certified hatchery or feed store selected
- [ ] Brooder box (large plastic tote or wooden box, minimum 2 sq ft per chick)
- [ ] Heat plate or ceramic heat emitter (safer than heat lamps, which cause fires)
- [ ] Digital thermometer/hygrometer
- [ ] Chick starter feed, 20% protein, medicated or non-medicated
- [ ] Shallow chick waterers (2 minimum)
- [ ] Shallow chick feeders (2 minimum)
- [ ] Hemp or pine shavings bedding (never cedar — toxic oils)
- [ ] Hardware cloth for coop build (1/4 inch gaps)
Before moving to the coop (week 4–6):
- [ ] Predator-proof coop completed (see 12-point checklist below)
- [ ] Outdoor run covered with hardware cloth or roof
- [ ] Hanging feeder and waterer (reduces spillage)
- [ ] Nest boxes (1 per 3–4 hens)
- [ ] Roosting bars (2 inches wide, rounded edges, 8 inches per bird)
- [ ] Layer feed ready (16–18% protein, calcium for shells)
- [ ] Oyster shell dispenser
- [ ] Grit dispenser (only after week 6, and only if feeding treats/scratch)
This checklist is the exact system I use when raising chickens for beginners in my coop.
How to Start a Chicken Coop That Predators Cannot Beat
Raising chickens for beginners fails most often at the coop. Not because beginners are careless, but because they trust the wrong materials and miss the wrong entry points.
My first coop used chicken wire because it was cheap and easy to staple, a fatal error in raising chickens for beginners. A raccoon pulled it off the frame in one night. Chicken wire keeps chickens in. It does not keep predators out. You need hardware cloth, welded wire with 1/4 inch gaps.
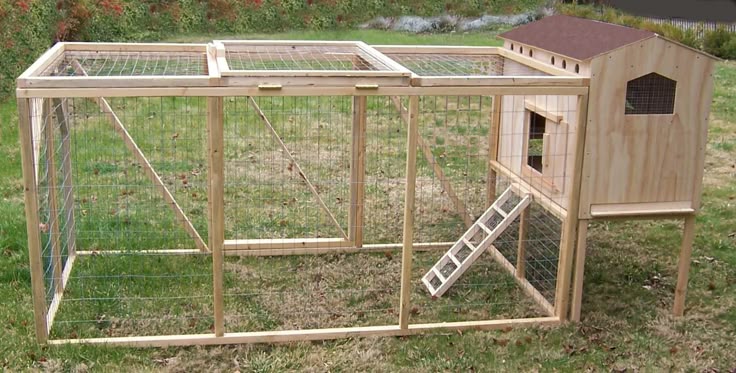
Here is the 12-point predator-proofing checklist I use now, developed after consulting with New Mexico Game & Fish officers and veterinary sources:
- Hardware cloth on all openings. Not chicken wire. Not plastic mesh. 1/4 inch hardware cloth, secured with washers and screws, not staples.
- Bury mesh 12–18 inches underground or create a 24-inch horizontal apron pinned to the ground. Coyotes and foxes dig. Raccoons dig. If they hit the wire, they give up.
- Solid or reinforced walls. Plywood with 2×4 framing, or metal siding. Raccoons can pull apart weak joints.
- Roof cover. Hawks and owls strike from above. Crosshatch wire or solid roof required.
- Automatic locking door. Raccoons open simple latches. I use a timer-based auto-door that locks at dusk and opens at dawn. Cost: $120. Worth: my sleep and my flock’s lives.
- Electric perimeter (optional but effective). Low-voltage poultry netting adds a psychological barrier for coyotes and bobcats.
- Motion-activated lights. Predators prefer darkness. A sudden floodlight often deters them before they reach the coop.
- Clear vegetation 50 feet around the coop. Predators use tall grass and brush as cover. Open ground exposes them.
- Floor mesh or concrete slab. If your coop has a dirt floor, bury hardware cloth across the entire footprint. Weasels and minks fit through gaps you cannot see.
- Double-door entry. An ante-room prevents escapes and creates an airlock against wind and predators.
- Daily evening inspection. I check every latch, every wire edge, every gap. Takes 90 seconds. Has saved my flock three times when the wind loosened a corner.
- Desert-specific barriers. In New Mexico, bobcats and coyotes are primary threats. I add a sand barrier around the apron it immediately reveals digging attempts.
Coop size for 4 chickens: Minimum 12 to 16 square feet indoor space, plus 32 to 40 square feet outdoor run. Heavy breeds like Orpingtons need 16–20 square feet indoors. According to poultry extension guidelines, crowding below 4 square feet per bird causes feather-pecking, cannibalism, and ammonia respiratory issues. I learned this the hard way when I crammed four hens into an 8-square-foot coop “temporarily.” They started pecking each other within ten days.
The Brooder: Temperature Science Most Beginners Ignore
Day-old chicks cannot regulate their body temperature the first technical hurdle in raising chickens for beginners. Get this wrong, and you lose birds to chilling or heat stress within 48 hours.
University of Georgia Extension recommends a floor temperature of 90°F (32°C) on the day chicks arrive. UC Davis recommends setting it to 95°F (35°C) under the brooder lamp or plate, with a wet-bulb reading of 83–87°F for humidity control.
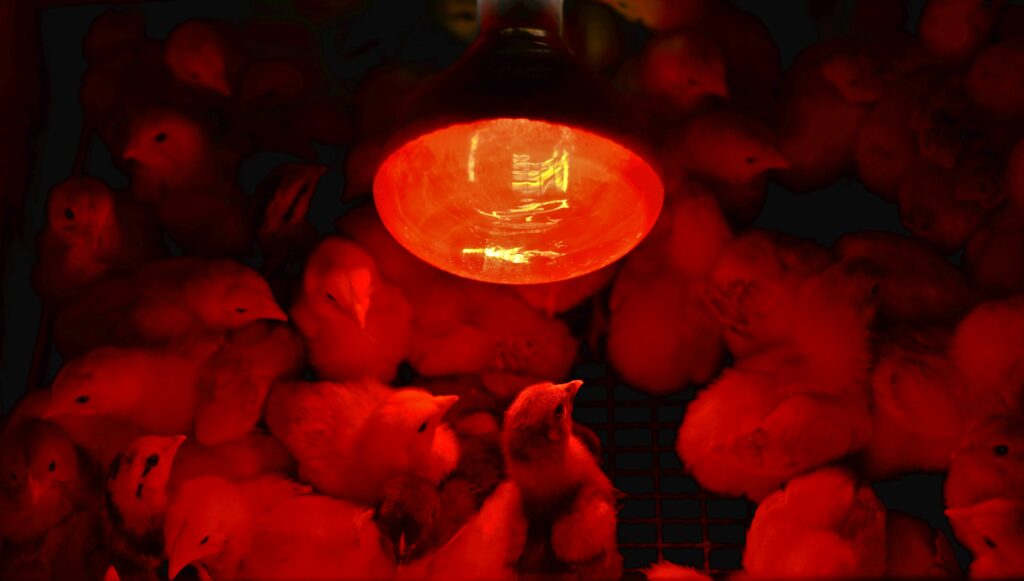
Here is the weekly drop schedule I follow:
| Week | Temperature | Notes |
|---|---|---|
| 1 | 95–100°F | Watch for pasty butt. Clean vents daily with warm water. |
| 2 | 90°F | Chicks start perching. Lower heat plate. |
| 3 | 85°F | Introduce small roosting bars. |
| 4 | 80°F | Begin short supervised outdoor trips if warm. |
| 5 | 75°F | Reduce indoor heat significantly. |
| 6 | 70°F | Ready for coop transition if fully feathered. |
In New Mexico’s desert climate, heat is a bigger threat than cold. I lost two chicks to heat stress before I understood that 100°F ambient plus a heat plate creates lethal conditions. Now I use a heat plate instead of a lamp, which provides radiant heat from below without raising air temperature, and chicks can move away from it easily. I also place the brooder in a shaded room with a small fan for air circulation. Never point a fan directly at chicks.
Choosing Your First Flock: Breeds That Forgive Beginner Mistakes
Not all chickens tolerate beginner errors. Some are flighty. Some are fragile. Some stop laying the moment you stress them. For your first three or four hens, I recommend these forgiving breeds for raising chickens for beginners:
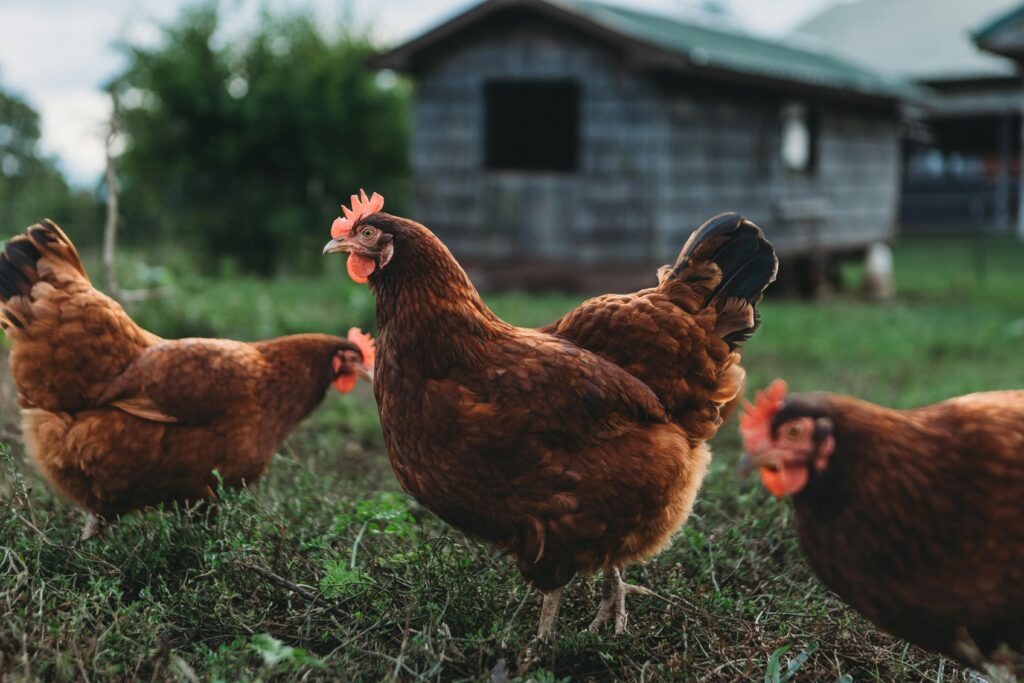
For your first three or four hens, I recommend:
| Breed | Eggs/Week | Hardiness |
|---|---|---|
| Rhode Island Red | 5–6 | Cold: Excellent / Heat: Good |
| Plymouth Rock | 4–5 | Cold: Excellent / Heat: Good |
| Orpington | 3–4 | Cold: Excellent / Heat: Fair |
| Australorp | 5–6 | Cold: Excellent / Heat: Good |
| Sussex | 4–5 | Cold: Good / Heat: Good |
Avoid Silkies for your first flock. They are adorable but fragile, prone to respiratory issues, and their crests limit vision, making them easy targets for bullying. Avoid Leghorns if you want pets; they are nervous, flighty, and noisy.
I started with two Rhode Island Reds and two Australorps. The Reds lay through a New Mexico cold snap that dropped to 15°F. The Australorps produced an egg almost every day for eighteen months. Both breeds forgave my early feeding mistakes and coop drafts.
The First 6 Weeks: A Day-by-Day Framework
This day-by-day framework is the backbone of raising chickens for beginners. Most losses happen in weeks 1–3 because beginners do not know what normal looks like when raising chickens for beginners.
Week 1: Chicks eat, drink, sleep, and poop. A lot. Check the brooder every 4–6 hours. Water must be clean; chicks will foul it with shavings within hours. Pasty butt appears in the first 72 hours. Dip the chick’s vent in warm water, gently remove the plug, and apply a tiny amount of coconut oil or Vaseline. Do not pull dry, you will tear skin.
Week 2: Feather development starts on the wings and tail. Chicks begin perching. Lower the heat. Introduce a small dust-bath dish filled with fine sand and food-grade diatomaceous earth.
Week 3: Body feathers fill in. Chicks are active, noisy, and curious. They need more space to expand the brooder or to split the flock into two brooders if it gets crowded.
Week 4: Combs and wattles begin developing. You can start offering small treats — mealworms, chopped greens, plain yoghurt. Introduce grit in a separate dish if offering anything other than starter feed.
Week 5: Fully feathered in most breeds. Begin supervised outdoor time in a secure pen for 15–30 minutes daily. They need to acclimate to sunlight, wind, and temperature variation.
Week 6: Transition to the coop. Do it at dusk, chicks naturally seek shelter as light fades. Place them directly on roosting bars. Keep them locked in the coop for 3 to 5 days before allowing run access. This imprints the coop as “home.”
I moved my first flock to the coop at week 5 because I was impatient. A sudden thunderstorm dropped the temperature twenty degrees overnight. Two chicks died of hypothermia because they had not yet learned to huddle properly on the roost. Wait until week 6. Lock them in. Be patient.
Feeding mistakes are the #1 killer of flocks when raising chickens for beginners.
Feed is your cheapest insurance against disease and the most common mistake in raising chickens for beginners. Get it wrong, and you pay in vet bills or dead birds.
Weeks 0–6: Chick starter, 20–22% protein. Medicated (with amprolium for coccidiosis prevention) or non-medicated if you want organic. Do not add grit to starter feed; it is unnecessary and can cause crop impaction in young chicks.
Weeks 6–18: Grower feed, 16–18% protein. Transition gradually over 7 days, mix 25% grower with 75% starter for two days, then 50/50, then 75/25, then full grower.
Week 18+: Layer feed, 16–18% protein, 4% calcium. This calcium level is critical for shell formation. Do not feed layer feed to chicks or pullets; excess calcium can damage their kidneys.
Treats and supplements: Offer oyster shell in a separate dish once laying begins. Offer grit in a separate dish if feeding anything other than commercial feed. Whole grains, greens, or scraps require grit for digestion.
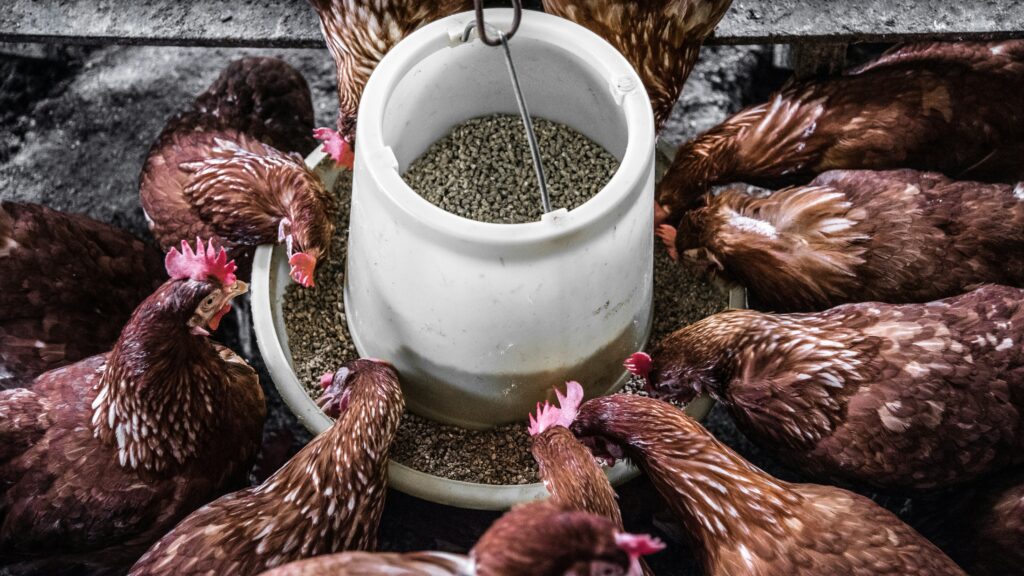
What not to feed: Avocado (persin toxin), chocolate (theobromine), dried beans (phytohemagglutinin), green potato skins (solanine), raw eggs (encourages egg-eating), salty or processed foods. I lost a hen to avocado scraps a neighbour tossed over the fence. Now I have a printed “Do Not Feed” list on my coop door.
This myth confuses everyone raising chickens for beginners.
No. This is the most common beginner myth, and it costs people money, noise complaints, and legal trouble.
Hens lay eggs without roosters. The eggs are unfertilized, edible, and nutritionally identical to fertilised eggs. A rooster is only necessary if you want to hatch chicks naturally.
Roosters are loud. They crow at dawn, at noon, and at 3 AM if they hear a noise. Many urban and suburban ordinances explicitly ban roosters. I know a beginner in Albuquerque who bought a “pullet” that turned out to be a rooster. The city gave her 48 hours to rehome it or face a $500 fine. She spent $80 on a new coop and drove three hours to a farm sanctuary.
If you want chicks, buy pullets or order sexed chicks from a hatchery. Do not rely on a rooster unless you have the space, the legal permission, and the tolerance for 4 AM alarm calls.
How Often Do Chickens Lay Eggs?
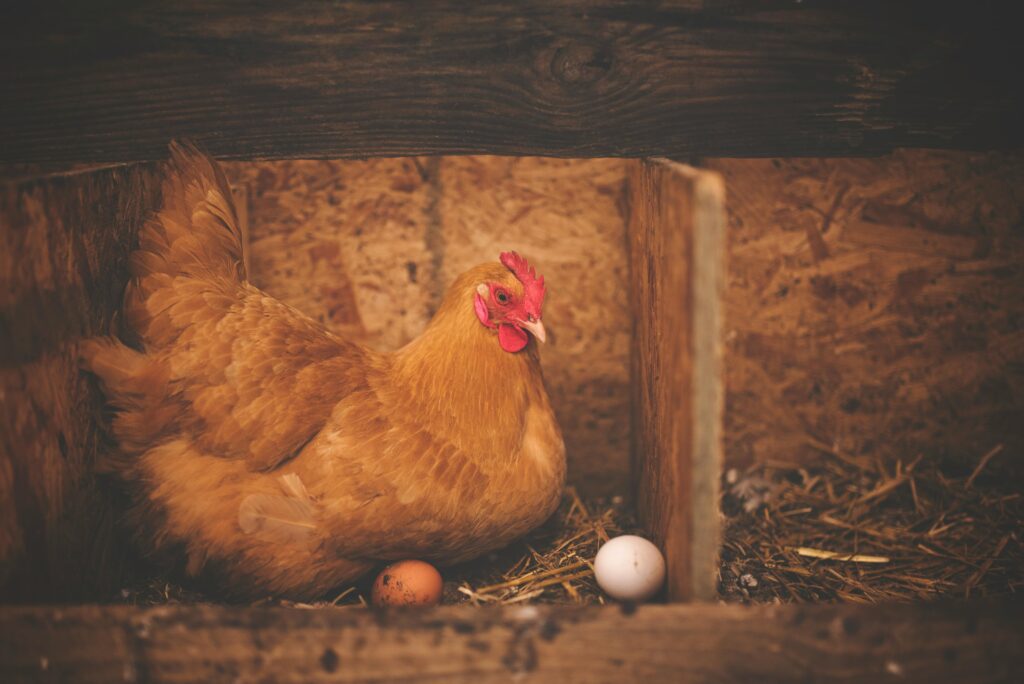
A healthy, mature hen from a production breed lays roughly 5–6 eggs per week in peak season — spring through early fall. That drops to 2–3 eggs per week in winter as daylight hours decrease. After age 2–3, production declines gradually.
Here is what affects laying frequency:
- Daylight: Hens need 14–16 hours of light to maintain peak production. In winter, supplemental coop lighting can help, but I prefer to let my hens rest naturally. Forced laying burns out their reproductive systems faster.
- Stress: Predator attacks, coop moves, new flock members, or loud construction can stop laying for days or weeks.
- Nutrition: Inadequate protein or calcium causes soft-shell eggs or complete cessation.
- Molting: Once yearly, hens shed and regrow feathers. Laying stops for 6–12 weeks. This is normal. Increase protein to 18–20% during moult.
- Heat: Above 90°F, hens reduce laying. In New Mexico, I shade the run, provide frozen water bottles, and feed early morning to maintain summer production.
The Mistakes That Kill Beginner Flocks (From Real Forums)
I read Reddit r/BackyardChickens daily. The same failures appear weekly from people raising chickens for beginners. Here are the ones I either made myself or see most often:
1. Chicken wire instead of hardware cloth. Every predator thread starts with “I thought chicken wire would work.” It will not.
2. Over-gritting starter feed. Beginners read that grit aids digestion and add it to chick starter. Chicks on commercial starter do not need grit. Excess grit causes crop impaction.
3. Wet brooder litter from spilt water. Chicks tip waterers. Wet litter breeds bacteria and causes footpad dermatitis. Use stable waterers or place them on raised platforms.
4. Missing early illness signs. Bumblefoot, mites, and respiratory infections are easy to treat in week one. By week three, they require antibiotics or surgery. Check feet, vents, and nostrils daily.
5. No biosecurity for HPAI. Beginners buy chicks at swap meets, visit friends’ flocks, then wonder why their birds die. Quarantine new birds for 30 days. Change shoes between coops. Use foot dips.
6. Heat lamp fires. Heat lamps fall, melt plastic, ignite shavings. Use heat plates. They are safer and more efficient, and they reduce fire risk to zero.
7. Underestimating poop. Four hens produce a surprising volume of manure. Without a cleaning schedule, ammonia levels rise, leading to chronic respiratory disease. I deep-clean my coop every Saturday morning. Takes 45 minutes.
FAQ: What Beginners Actually Ask
Here are the questions I get most often from people raising chickens for beginners:
Can backyard chickens get bird flu?
Yes. Backyard flocks are not exempt from HPAI. In 2025–2026, backyard flocks in 48 states have been affected. Follow USDA biosecurity guidelines, avoid contact with wild birds, and report sudden deaths to your state veterinarian.
How long do backyard chickens live?
5–10 years, depending on breed and care. Heavy production breeds like Leghorns burn out faster (4–6 years). Heritage breeds like Plymouth Rocks often live 8–10 years.
Can I raise chickens in my backyard legally?
Check local ordinances before you buy. Many cities allow 3–6 hens, no roosters, with setback requirements from property lines. HOAs may ban poultry entirely. I provide a printable ordinance checklist in the download below.
How much room do chickens need?
3–4 square feet per bird inside the coop, 8–10 square feet per bird in the outdoor run. Heavy breeds need 5–6 square feet indoors. Crowding causes aggression and disease.
What were you not prepared for when you got your first chickens?
The emotional labour. Chickens are not appliances. They get sick, they die, they surprise you with intelligence and personality. The first loss hits harder than you expect. Prepare for that as much as you prepare for the financial cost.
Your Next Step
Download the New Chicken Keeper Checklist — the exact supply list I use before bringing home any new flock, with 2026 cost estimates, Amazon links for hardware cloth and heat plates, and the 12-point predator audit I perform every evening.
Once you have your supplies and your coop is predator-proof, read these next:
- Best Chicken Breeds for Small Backyards
- How to Build a Predator-Proof Coop for Under $200
- Raising Chicks: The First 6 Weeks Day-by-Day
Your flock is waiting. Build it right the first time.
The MyChickensGuide Team




[…] Start Here […]
[…] Start Here […]